In Out Board
This SharePoint Add-in is an easy to use way to display when team members are in or out of the office.
Bulletproof Apps are no longer available for download in the Microsoft AppSource store and will be retired permanently on December 1, 2022.
Please contact Bulletproof for custom app development
services using Microsoft 365 and Microsoft Azure.
Click on any category or help topic to expand.
How do I download the app?
Follow these steps to download the In Out Board from Microsoft AppSource. (We'll do our best to keep the screenshots up to date, your actual steps may vary.)
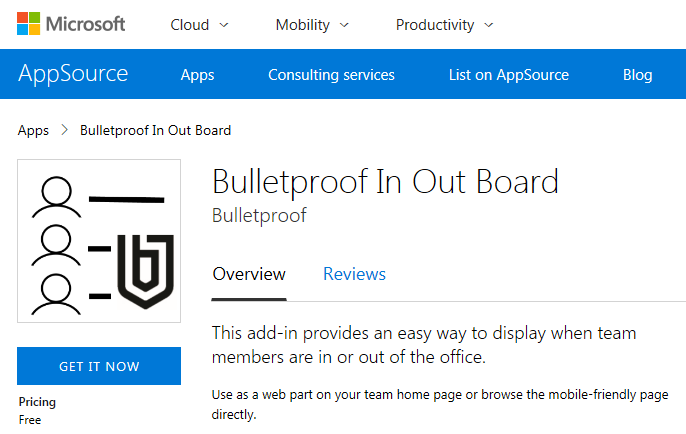
When browsing web pages describing the In Out Board on the Bulletproof Apps for SharePoint site, click the Download from Microsoft AppSource button. Or, go directly to https://appsource.microsoft.com and search for "Bulletproof".
On the Microsoft AppSource page for the In Out Board, click GET IT NOW.
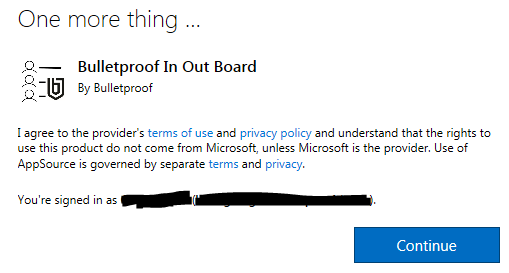
Links to the terms of use and privacy policy are provided. Click Continue.
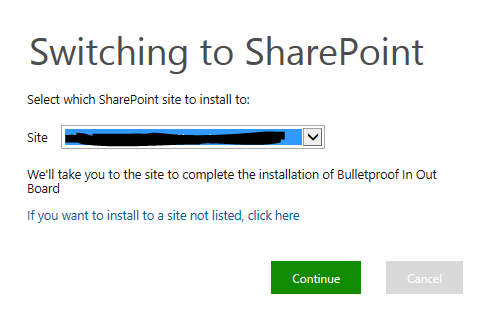
Select a SharePoint site, and click Continue. This step makes the app available to SharePoint. (Note: to make the app available to all site collections, install the app at the root site collection of your SharePoint tenant.)
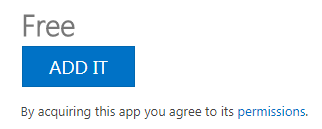
A link is provided that describes the required permissions for the app. Click ADD IT.
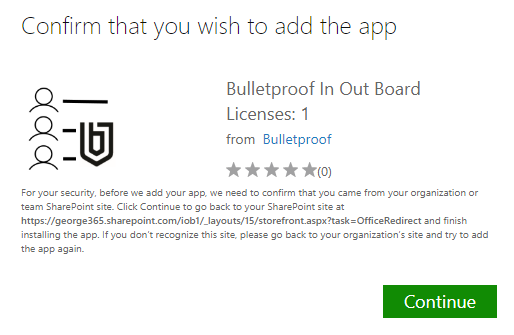
Click Continue to confirm.
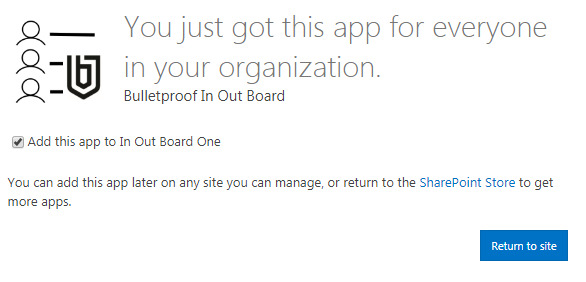
Uncheck the box if you don't want to immediately add the In Out Board to the root of your site collection. Click Return to site.
To add the In Out Board to a specific site, follow the steps in the next help topic How do I add the app to my SharePoint site.
How do I add the app to my SharePoint site?
After downloading the In Out Board from the Microsoft Office store, you can add the app to a site just like any other list or library. Follow these steps:
Before you add the In Out Board to your SharePoint site, consider the following:
- Decide whether you want to use an existing site or if you want to create a new site for the In Out Board.
- During the deployment process, four (4) Lists will be created on your site. Each List will require different permissions for end users and administrators.
- The deployment process requires that Site Columns and Content Types be created at the Site Collection level. You must have the appropriate permissions.
- An In Out Board Web Part can be added to web pages, but only on the site where the app is installed.
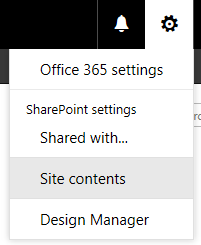
Open the gear menu, and select Site contents.
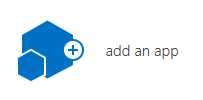
In the Classic Experience, click add an app.
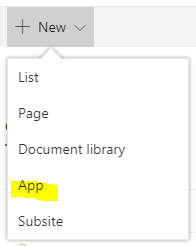
In the New Experience (the Modern UI), select New > App.
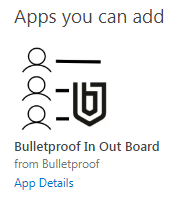
Click the icon for the Bulletproof In Out Board.
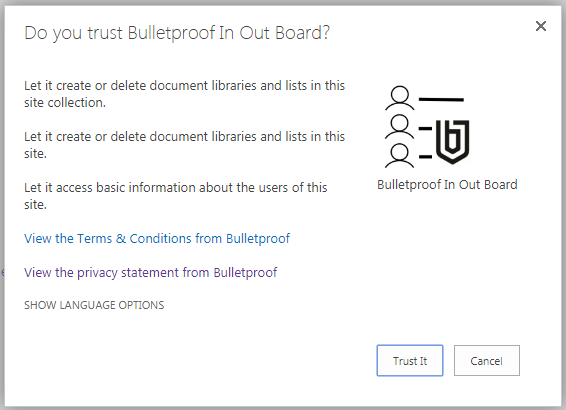
If this is the first time you are adding the app to your site, you'll need to grant permissions. Click Trust it. The following permissions are required:
- Site Collection. Site Columns and Content Types are created at the root website of your site collection. In addition to being SharePoint best practice, it allows the app to be installed on multiple sites.
- Site. Lists are created on the current site to store data for the app. Your data is stored on your site, not with Bulletproof.
- Users. The app needs to know information about the current user. For example, the user's name is displayed on the In Out Board and only designated administrators can manage the app's administrative settings.
Information about data and privacy can be found at https://bulletproofapps.azurewebsites.net/Home/Privacy.
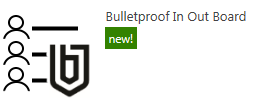
When the installation is completed, you should see the In Out Board listed in your Site Contents.
Add the In Out Board web address to your Trusted Sites list in Internet Explorer
**NOTE** The Internet Explorer browser is not officially supported by Bulletproof.
Add https://inoutboard.azurewebsites.net to your Trusted Sites list, or you may not be able to browse the app. You may only see error messages or timeout messages, because your browser doesn't trust the site. This not only applies to Internet Explorer, it could help other browsers as well.
No step-by-step instructions for this topic.
Why does the app redirect me to "azurewebsites.net"?
Bulletproof Apps for SharePoint use the SharePoint Provider Hosted Add-In Framework. This means that Bulletproof hosts a website in Microsoft Azure cloud services that contains all of the app's web pages and web parts. Every website in Microsoft Azure is assigned a web address like "myapp.azurewebsites.net". When you click on the app in your SharePoint site, you get redirected to this site. All apps are secure and authenticated by your SharePoint site.
No step-by-step instructions for this topic.
In Out Board - User Guide
How do I update my In/Out status?
You can update your In/Out status by browsing the app directly or by browsing to a web page where the In Out Board has been added as a web part. Follow these steps:
Browse to a page where the In Out Board has been added as a web part, or browse the app directly.
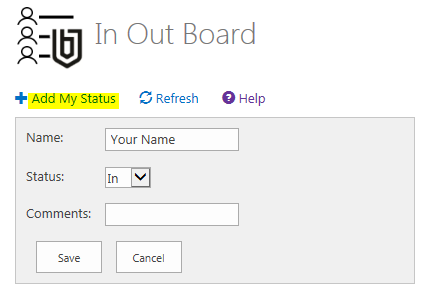
If this is your first time using the In Out Board, click Add My Status. Fill out the data entry form:
- Name. Your name will automatically be populated with your SharePoint display name. Make any desired changes.
- Status. Choose "In" or "Out" (custom status options are available with a paid subscription).
- Comments. Enter any desired comments.
Click Save.
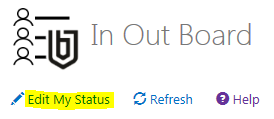
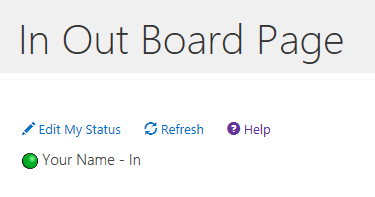
After you enter your status once, you'll then see a link to Edit My Status. The app only allows you to update your own status.
How do I add the In Out Board web part to a page?
The In Out Board web part can be added to web pages on the same site where the app is installed. Follow these steps:
Browse to the site where the In Out Board is installed, and click Site Contents from the gear menu or from the left-hand navigation.
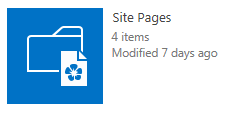
Go to any web page library. For this help topic, we'll use the built-in Site Pages wiki library. However you could also use the Pages library that comes with the Publishing Feature, or any library that has pages that allow Web Parts to be added.
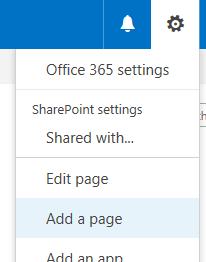
From the gear menu, select Add a page. Enter a name for your page, and click Create, Save or Publish (depending on the type of library).
Click Edit if the page is in view mode. For most web page libraries, the Edit button is located in the upper right hand area of the page.
For Wiki Pages using the New Experience (Modern UI), expand the plus (+) icon and select In Out Board from the list.
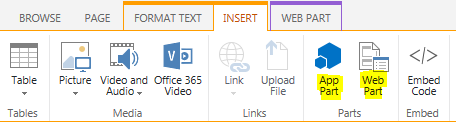
For Wiki Pages that use the Classic Experience, click the Insert ribbon tab and click App Part or Web Part. Select the In Out Board, and click Add.
Click Save. For some libraries, you may also need to Check In and Publish your page.
The In Out Board works the same on a web page as it does in the App Site.
In Out Board - Administration
How do I add the In Out Board to Microsoft Teams?
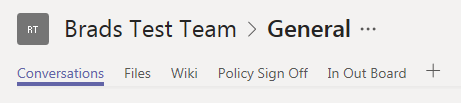
New in Version 1.0.2. The In Out Board can be added as a custom "Website" tab to any team in the Microsoft Teams app.
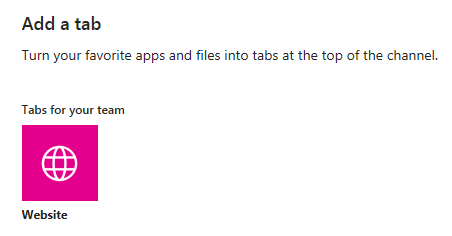
Open Microsoft Teams, and browse to your team. Click the plus (+) icon in the tabs to create a new tab.
Search for "website" in the search box. Click the Website icon.
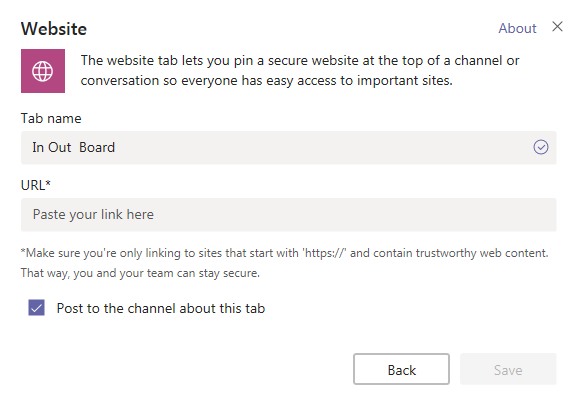
Enter a tab name and URL, then click Save.
- Tab name. Enter a user-friendly name for your new tab like "In Out Board".
- URL. Copy and paste the URL for Teams from the Configuration Options page in the In Out Board app.
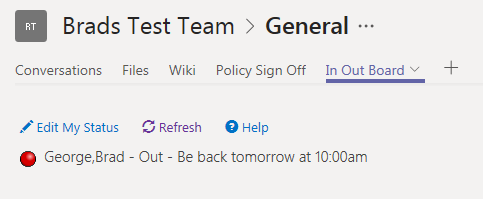
The In Out Board is now included as a tab in Microsoft Teams. (Note: the Windows desktop version of Microsoft Teams may require you to log in to your SharePoint site, including the In Out Board tab. Using the web browser version of Microsoft Teams provides a better single-sign-on experience.)
Can user status be reset to "Out" each day?
Yes, for paid subscriptions. Please see the online help topic Configuration options for the In Out Board for details.
No step-by-step instructions for this topic.
How do I add custom status choices?
Custom status choices are available for paid subscriptions and are entered in the IOB Status list on your SharePoint site. Follow these steps:
In the upper left-hand corner of the screen, click the link Go back to [your site name].
Open the gear menu, and select Site contents.
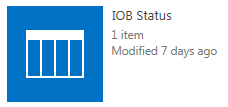
Click the IOB Status list.
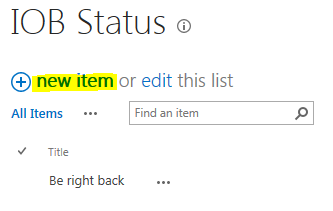
Click new item, and enter your new status choice. Repeat for each new choice.
Open the gear menu, and select Site contents.
In the navigation menu, click Configure.
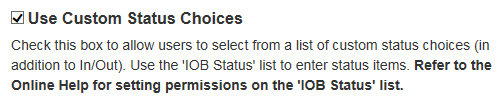
Check the box Use Custom Status Choices. Click Save.
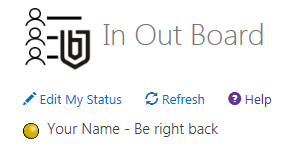
Update your In/Out status using the custom status option. All custom status will be displayed with a yellow indicator.
Are user status changes saved in a log?
Yes, for paid subscriptions. Please see the online help topic Configuration options for the In Out Board for details.
No step-by-step instructions for this topic.
How do I uninstall the In Out Board from my site?
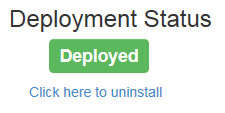
You can uninstall the app from the Deployment Options page. Follow these steps:
On the Deployment Options page, select Click here to uninstall.
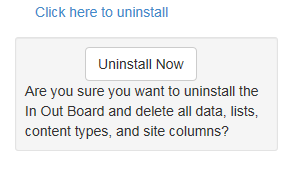
Click Uninstall Now to confirm.
- All lists used by the In Out Board will be deleted from the current site, including all data. Lists are deleted permanently, they will not appear in your Recycle Bin.
- All Site Columns and Content Types will be deleted from the site collection. If the In Out Board is installed on any other sites, the Site Columns and Content Types cannot be deleted until the last app is uninstalled.
How do I manage user licenses?
User licenses for Bulletproof Apps are managed on the Configuration Options administration page. Here are some guidelines for managing licenses:
In the top navigation menu for your app, click Configure.
Scroll down to the User Management section.
If your Total Licenses shows Unlimited, then your app can be used by an unlimited number of users. No user management is required. Please note that depending on the app, there may be restrictions on the number of users allowed per site.
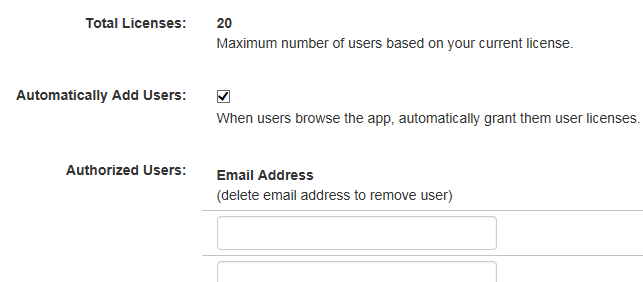
Otherwise, Total Licenses will show the maximum number of user licenses available, and additional options will be visible.
- Total Licenses. The maximum number of users who can use the app.
- Automatically Add Users. When this box is checked, users will be automatically granted a license and added to the Authorized Users list.
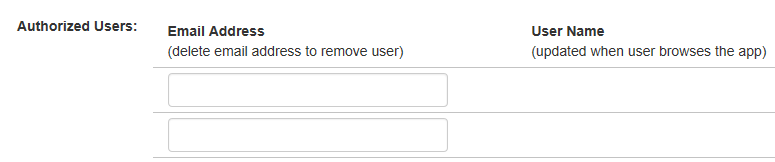
- Authorized Users. The list of users who are authorized to use the app.
To manually add a new Authorized User, enter their email address in one of the textboxes and click Save.
- At first, just the email address will be visible on the Configuration Options page.
- When the user first browses the app, their SharePoint display name will be added to the page.
- If you have a license level with hundreds of users, this list could be very long. Use your browser's "Find on Page" functionality to search for individual user names (on Microsoft Windows web browsers, this can usually be found by pressing Ctrl-f).
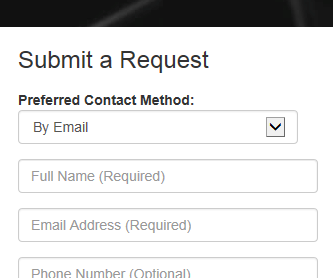
How do I submit a request to Bulletproof Support?
The app administrator can submit a request by filling out the form on the Online Help page. Follow these steps:
Go to your SharePoint site where the app is installed and click on the app. Then click Get Help in the navigation menu.
Under the heading Submit a Request, fill out the form and click Save. A member of the Bulletproof support team will contact you.
Does Bulletproof offer additional SharePoint support?
Yes, Bulletproof has a team of SharePoint Support staff and offers support contracts as a Managed Service. Bulletproof also has a team of SharePoint Consultants in the Professional Services division who can assist you with planning, architecture, custom development, and general consulting. Go to https://www.bulletproofsi.com for more information.
No step-by-step instructions for this topic.
Does Bulletproof make any other apps?
No step-by-step instructions for this topic.