 Member Management
This SharePoint Add-in allows member-based organizations to manage complex member information in a SharePoint site.
Bulletproof Apps are no longer available for download in the Microsoft AppSource store and will be retired permanently on December 1, 2022. Please contact Bulletproof for custom app development services using Microsoft 365 and Microsoft Azure.
Click on any category or help topic to expand.
Getting Started
After downloading the Member Management app from Microsoft AppSource, you can add the app to a site just like any other list or library. Follow these steps:
Before you add Member Management to your SharePoint site, consider the following:
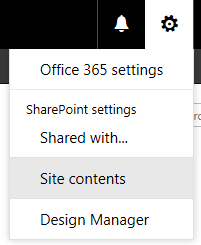
Open the gear menu, and select Site Contents.
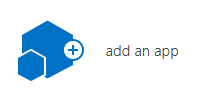
In the Classic Experience, click add an app.
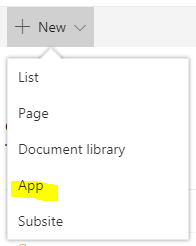
In the New Experience (the Modern UI), select New > App.

Click the icon for Member Management. The icon will be different if you are using the new experience.
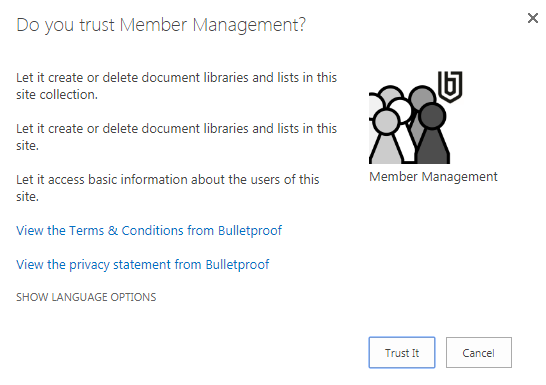
If this is the first time you are adding the app to your site, you'll need to grant permissions. Click Trust it. The following permissions are required:
Information about data and privacy can be found at https://bulletproofapps.azurewebsites.net/Home/Privacy.
Add https://membermgmt.azurewebsites.net to your Trusted Sites list, or you may not be able to browse the app. You may only see error messages or timeout messages, because the browser doesn't trust the site. This not only applies to the Internet Explorer browser, it could help other browsers as well.
No step-by-step instructions for this topic.
From the Site Contents page, click the icon for Member Management.
The app will open to the Administrator Dashboard page. This is the default page for App Administrators. Everyone is considered an App Administrator until lists and libraries are deployed to your site. After deployment is completed, administrators must be added to the Member App Administrators list.
Please note that most users would never see administrative pages. The default page for non-administrative users is the Member Profile page.
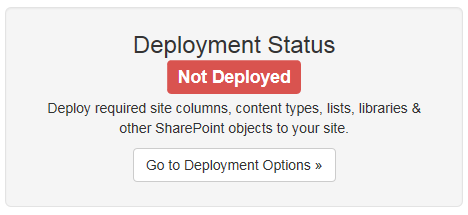
Before you can start using the app, you must deploy site columns, content types, lists and libraries to your site. Click Go to Deployment Options, then proceed to the next help topic.
Many SharePoint lists, libraries, site columns, and content types must be created on the site where the app is installed to manage your member-related data and documents. Follow these steps to complete the deployment:

If you are not already on the Deployment Options page in the Member Management app, click Deploy in the top navigation menu.
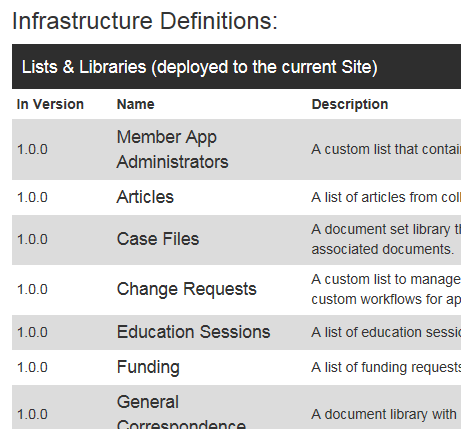
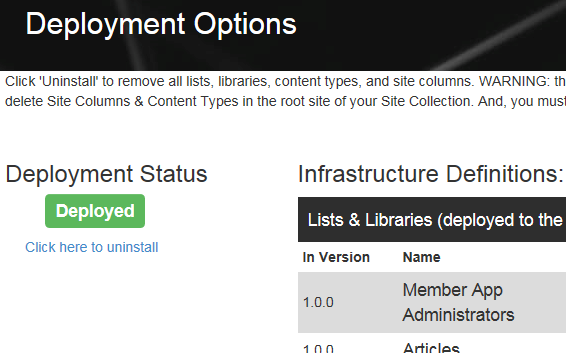
Under the heading Infrastructure Definitions, you can review a list of all Site Columns, Site Content Types, Lists and Libraries that will be deployed to your site. Site Columns and Content Types are deployed to the Site Collection, and Lists and Libraries are deployed to the site where the app is installed. You must have appropriate permissions to these locations or the app will not deploy successfully.
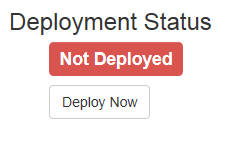
Under the heading Deployment Status, click Deploy Now.
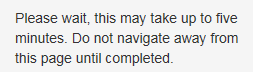
The deployment may take a while, please do not navigate away from the page before the deployment is completed. The page will be dynamically updated with status messages during the deployment process.
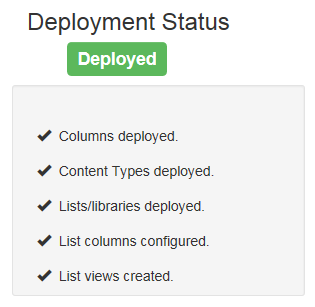
When the deployment is completed, the status indicator will read Deployed.
In the upper left-hand corner of the screen, click the link Go back to [your site name].
Click Site Contents using the gear menu or from the left-hand navigation.
You should see sixteen (16) new lists and libraries:
Many drop down lists (SharePoint "choice" columns) used by the app are deployed with generic values (Status One, Status Two, etc.). Customize the values for each one to fit your organization. Follow these steps:
NOTE: you can skip this step if you just want to quickly test the app. Once you are familiar with how the app works and you decide which modules you would like to use, you can always update the appropriate Site Columns later.
Go to the root site of your Site Collection, open the gear menu, and select Site Contents.
IMPORTANT: do not edit these choice columns from any list or library. Always follow these steps to get to the Site Column definitions.

Click Site Settings.
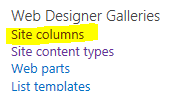
Under the Web Designer Galleries heading, click Site Columns.

Select Member App Columns from the Show Group drop down list.

Scroll down the page to find the Choice column that needs to be updated. For this example, click on Bargaining Unit.
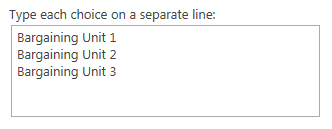
In the section Additional Column Settings, update the choices with values meaningful to your organization.
Click OK.
A message will be displayed asking if you are sure you want to continue. Click OK again.
The following choice columns are customizable. Repeat the steps above to edit the choices in each column. Depending on which modules you decide to use, you may not need all of these columns.
DO NOT UPDATE the following choice columns. These are necessary for the Member Management app to function correctly.
If you are using the Case Files module (uses the Results list) or the Grievances module (uses the Articles and Results lists), enter data in the Articles and/or the Results lists. Follow these steps:
On the site where the app is installed, open the gear menu and select Site Contents.

Click Articles. This is the icon used in the Classic Experience. If you are using the New Experience, you will see a list of smaller icons.
If you are using the Classic Experience, click New Item.

If you are using the New Experience, click New.
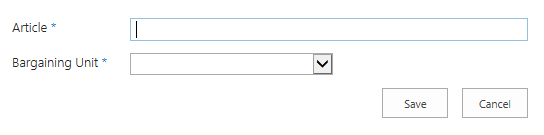
Enter the following data, and click Save. Repeat for each Article.
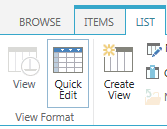
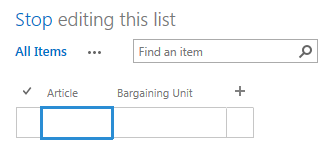
If you would like to enter data in bulk (similar to Excel), click the List ribbon tab and click Quick Edit (this is the Classic Experience).
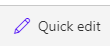
Using the New Experience, click Quick Edit in the toolbar.

Go back to Site Contents. Click Results.
Click New Item (Classic Experience) or click New (New Experience). Or, use the Quick Edit functionality for Results.
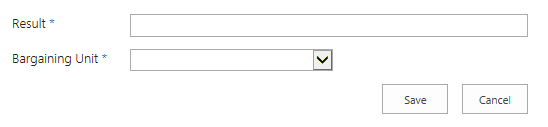
Enter the following data, and click Save. Repeat for each Result.
Enter staff names and positions in the Staff list. Staff and Position columns are plain text (instead of SharePoint user accounts) to make it easier to manage the data as staff change over time.
On the site where the app is installed, open the gear menu and select Site Contents.
Click Staff. This is the icon in the Classic Experience. If you are using the New Experience, you will see a smaller list of icons.
If you are using the Classic Experience, click New Item.
If you are using the New Experience, click New.
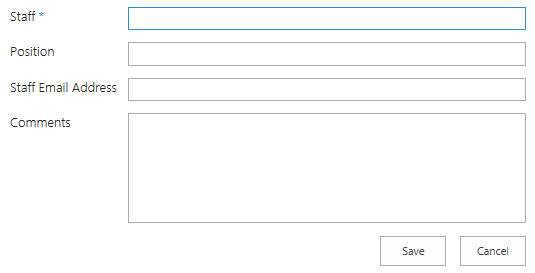
Enter the following data, and click Save. Repeat for each staff person.
You can also use the Quick Edit functionality as described in the Enter Articles and Results help topic above.
The Configuration Options page allows you to enable/disable app functionality and customize many of the data columns. Follow these steps to customize and configure the app so that it works for you.
NOTE: the Member Management app was originally developed for a unionized membership-based organization in the health care industry. However, the app was developed to be flexible and customizable so that any organization can use it.

In the Member Management app, click Configure in the top navigation menu.
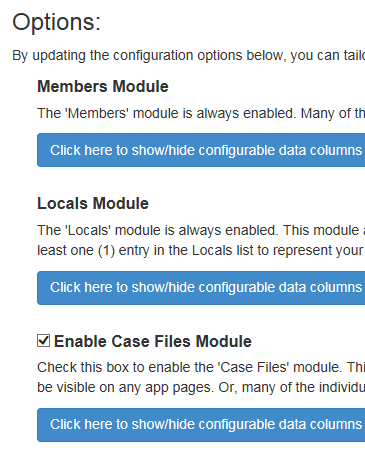
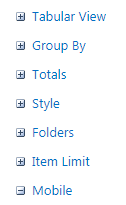
Under the Options heading, you'll see a series of checkboxes and buttons.
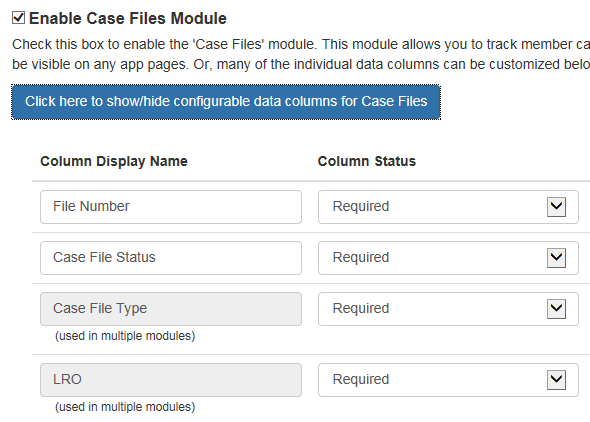
If the Column Display Name is editable, you may customize the display name. If the Column Status is editable, you may choose between Required, Optional, and Hidden. If a data column is used in multiple modules or is critical to app functionality, then the column may not be configurable.

Click Save after you make updates to each module. We recommend saving frequently to avoid losing your changes due to page timeouts or other internet-related issues.
You must create at least one (1) local chapter using the Local Profile page. Follow these steps:


Click Add New Local.
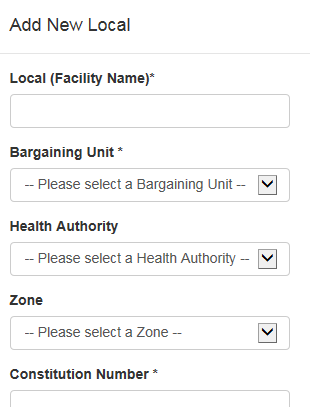
Enter the required information, and click Submit.
If for any reason you do not want to enter local chapter information, then just create one (1) entry with information about your organization. You can simplify the data requirements for Locals using the Configuration Options page.
The following data columns are enabled by default. Of course, you have some ability to enable/disable columns, add custom columns, rename columns, and make columns required/optional.
Now that the initial set up has been completed, you can browse the Member Profile page. Follow these steps to enter new members and browse member information:

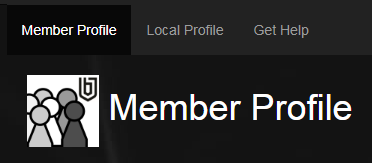
In the Member Management app, click Member Profile in the top navigation menu.

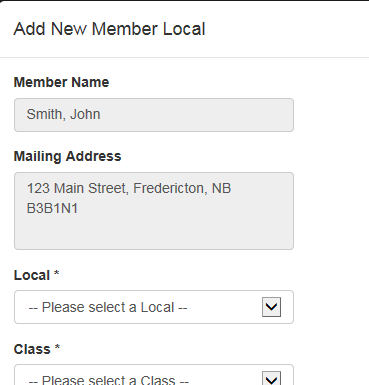
Click Add New Member.
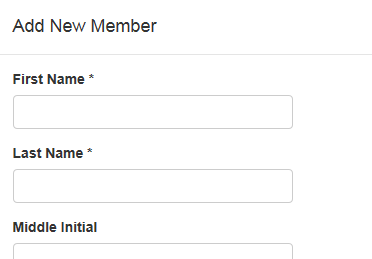
Enter the required information, and click Submit.
The following data columns are enabled by default. Of course, you have some ability to enable/disable columns, add custom columns, rename columns, and make columns required/optional.
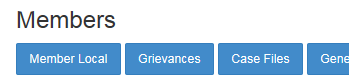
After you save a new member, a search is automatically executed to display the member data. To browse member data: (1) select the member by clicking anywhere in the row of data, and (2) click any of the module buttons to display related information. The following modules can be enabled on the Member Profile page:
You can use built-in permission levels that come with SharePoint, or create your own custom security groups and permission levels. Follow these guidelines:
NOTES: there are many lists and libraries that manage member data and documents. The following recommendations describe how to set up simple permissions (one security group for Read Only users, and one security group for Editors). To give users a mix of read only and edit permissions, you'll need to create additional security groups and modify the permissions on each list and library.
If you just want to run some quick tests, simply add all test users to the built-in SharePoint Members security group for the site where the app is installed.
The icons displayed in this help topic are from the Classic Experience. If you are using the New Experience, you will see a smaller list of icons.
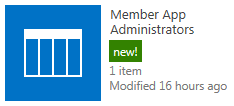
The Member App Administrators list contains a list of all users who are administrators of the Member Management app. Administrators can see all of the administrative pages and menu items. Regular users can only see the Member Profile page and the Local Profile page.
The Articles list contains articles from collective agreement(s) as they relate to specific bargaining units.
The Case Files "Document Set" library contains case file information and related documents.
The Change Requests list where Member Name Change Requests are processed.

The Education Sessions list contains educational courses that members have attended.

The Funding list contains member funding requests.
The General Correspondence document library contains documents related to member correspondence (except phone calls which are saved in the Phone Correspondence list).
The General Files library contains all member-related documents that don't get uploaded to any other specific library on the site.
The Grievances "Document Set" library contains member grievance information and related documents.
The Locals list contains information about each local chapter.

The Member Locals list contains member associations with one or more local chapters.

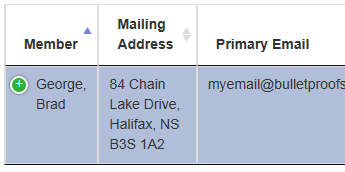
The Members list contains contact information and other data for each member.
The Notification Directory list is not used by the app itself. We have provided this list for you to save custom notification information, then use a tool like Flow to create custom workflows that respond to events and send notifications. Examples of workflows we have created are:
If you would like assistance creating custom workflows, please don't hesitate to contact us at https://www.bulletproofsi.com/contact/

The Phone Correspondence list contains information from member phone calls.
The Results list contains a list of possible outcomes for case files and grievances as they relate to specific bargaining units.
The Staff list contains the name and position of all staff members.
If the Member Management app doesn't quite meet all of your data requirements, please contact us. We can customize the app to fit your needs. If you decide to purchase a subscription, we can discuss options such as discounts or cost sharing on custom app functionality. https://www.bulletproofsi.com/contact/
No step-by-step instructions for this topic.
Yes. SharePoint data migrations are one of our core services. Please contact us for a quote. https://www.bulletproofsi.com/contact/
No step-by-step instructions for this topic.
Bulletproof Apps for SharePoint use the SharePoint Provider Hosted Add-In Framework. This means that Bulletproof hosts a website in Microsoft Azure cloud services that contains all of the app's web pages and web parts. Every website in Microsoft Azure is assigned a web address like "myapp.azurewebsites.net". When you click on the app in your SharePoint site, you get redirected to this site. All apps are secure and authenticated by your SharePoint site.
No step-by-step instructions for this topic.
Member Management - User Guide
The Member Profile page gives you instant access to member-related data and documents. The Configuration Options administration page allows app administrators to disable modules that you may not need. Here is an overview.
In the Member Management app, click Member Profile in the top navigation menu.

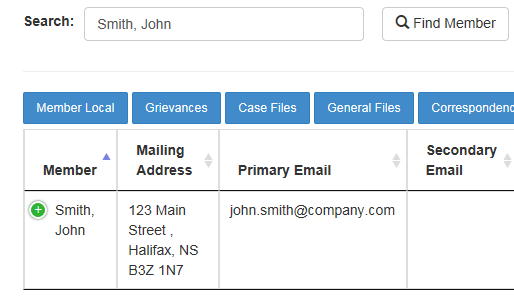
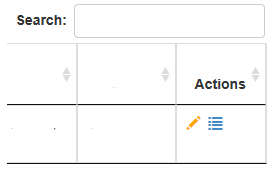
In the search box, enter a portion of the member name, and click Find Member.
Select the member you are looking for by clicking anywhere in the row of data. You must select the row, even if the search only returns one member. Clicking the member name or the plus (+) icon will expand the row to show additional data.
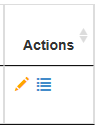
In the Actions column, there are icon buttons to edit data (pencil icon) or go to the SharePoint list (list icon) to see views/reports.
By selecting a member, the other search results will be hidden. To show your previous search results, click the Show All Results button.
After you have selected a member, you can show member-related data by clicking on the appropriate button. These modules can be enabled or disabled using the Configuration Options administration page.
If no data is found, a message will be displayed.
If data is found, it will be displayed beneath the member information.
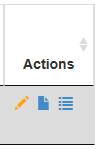
In the Actions column for all member-related data, there are up to three (3) icon buttons:
A new member can be added by clicking the Add New Member button. Each section of member-related data has it's own "add new" button.
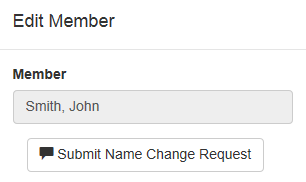
When editing member data, the member name is not editable because member name changes require approval. Click the Submit Name Change Request button to submit a request.

Every section on the page has its own set of functions.
The Local Profile page gives you instant access to local chapter-specific data and documents. Any modules you have disabled on the Configuration Options page will be disabled on both the Member Profile and Local Profile pages. Here is an overview:
In the Member Management app, click Local Profile in the top navigation menu.
In the search box, enter a portion of the local chapter name, and click Find Local.
There is a secondary search box above the Actions column. This search box can be used to drill down on the original search results.
NOTE: the secondary search box is only a filter for the original search. Use the main search box to re-query the entire Locals list in SharePoint.
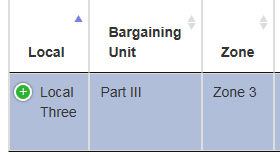
Select the local you are looking for by clicking anywhere in the row of data. You must select the row, even if the search only returns one local. Clicking on the local name or the plus (+) icon will expand the row and show additional data.
In the Actions column, there are icon buttons to edit data (pencil icon) or go to the SharePoint list (list icon) to see views/reports.
By selecting a local, the other search results will be hidden. To show your previous search results, click the Show All Results button.

After you have selected a member, you can show member-related data by clicking on the appropriate button. These modules can be enabled or disabled using the Configuration Options administration page.
If no data is found, a message will be displayed.
If data is found, it will be displayed beneath the local information. The local modules will show ONLY independent data related to the local. To see data for specific members, use the Member Profile page.
In the Actions column for all local-related data, there are up to three (3) icon buttons:

A new local can be added by clicking the Add New Local button. Each section of local-related data has it's own "add new" button.
Every section on the page has its own set of functions.
Follow these steps to add a new local chapter or edit an existing local chapter.
In the app navigation menu, click Local Profile.
To add a new local, click Add New Local.
To edit an existing local, go to the Actions column for the selected local and click the edit button (pencil icon).
Enter all required information in the data entry form, and click Submit.
A search will be automatically executed to display the new Local.
Follow these steps to add a new member or edit an existing member:
In the app navigation menu, click Member Profile.
To add a new member, click Add New Member.
To edit an existing member, go to the Actions column for the selected member and click the edit button (pencil icon).
Enter all required information in the data entry form, and click Submit.
A search will be automatically executed to display the new member.
A member can be associated with one or more local chapters. Follow these steps to associate a member to a local chapter.
On the Member Profile page, search for the member and select the data row.

Click Add Member Local.
Enter the required information in the data entry form, and click Submit.
The new item should be automatically displayed. Click the Member Local button at any time to display all data.
Follow these steps to create a new grievance file, upload related documents, and add/edit data describing the grievance:
A grievance file can be created on both the Member Profile page (for a member) and the Local Profile page (for a non-member related grievance). Browse to the page most applicable to the grievance.
This is a two-step process.
Search for the member or local, and select the data row.

Click the Grievances button.
Click Add New Grievance.
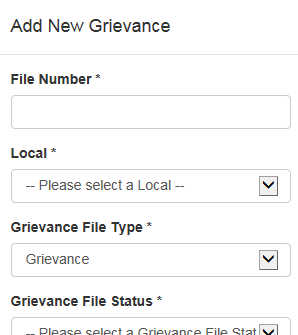
Enter the required information, and click Submit.
Which data columns are displayed, required, or optional will vary depending on the selections you make on the Configuration Options page. You can customize each module to fit the requirements of your organization.
The new grievance will be displayed on the page. In the Actions column, click the document icon.
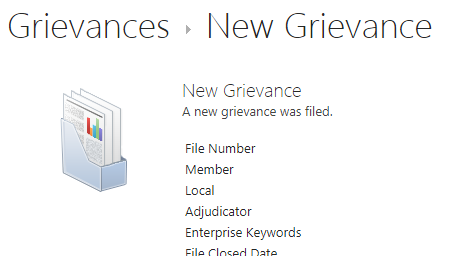
The SharePoint Document Set Welcome Page for the grievance will open in a new window.
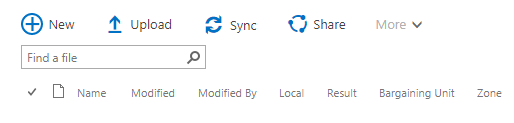
Scroll down to the documents area. Click Upload to upload a new file.
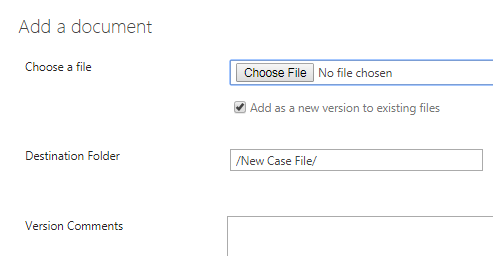
In the Add a document dialog box, click Choose File and select your document. When ready, click OK to continue.
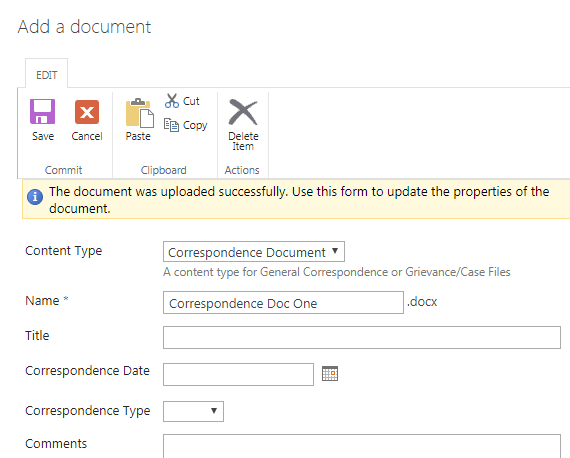
After the file is uploaded, you'll be asked to enter some information about the document. Enter all required information, and click Save.
By default, you can select a Document or Correspondence Document as the Content Type. For Correspondence Document, which data columns are displayed, required, or optional will vary depending on the selections you make on the Configuration Options page. You can customize each module to fit the requirements of your organization.
Follow these steps to create a case file, upload related documents, and add/edit data describing the case file:
A case file can only be created on the Member Profile page. Click Member Profile in the navigation.
This is a two-step process.
Search for the member, and select the data row.

Click the Case Files button.
Click Add New Case File.
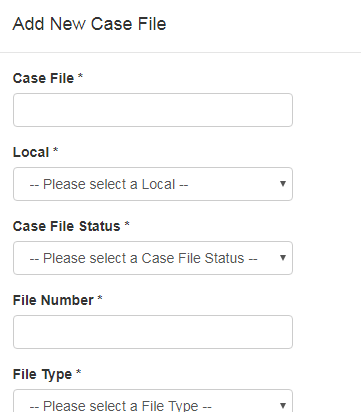
Enter the required information, and click Submit.
Which data columns are displayed, required, or optional will vary depending on the selections you make on the Configuration Options page. You can customize each module to fit the requirements of your organization.
The new case file will be displayed on the page. In the Actions column, click the document icon.
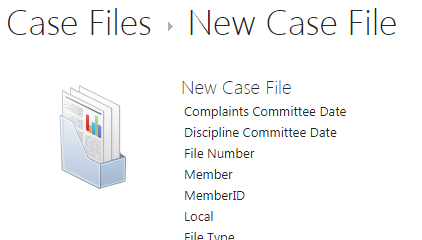
The SharePoint Document Set Welcome Page for the case file will open in a new window.
Scroll down to the documents area. Click Upload to upload a new file.
In the Add a document dialog box, click Choose File and select your document. When ready, click OK to continue.
After the file is uploaded, you'll be asked to enter some information about the document. Enter all required information, and click Save.
By default, you can select a Document or Correspondence Document as the Content Type. For Correspondence Document, which data columns are displayed, required, or optional will vary depending on the selections you make on the Configuration Options page. You can customize each module to fit the requirements of your organization.
Follow these steps to upload a document and add/edit data describing the document:
General files can be uploaded from both the Member Profile page (for a member) and the Local Profile page (for non-member related files). Browse to the page most applicable to the file.
Search for the member or local, and select the data row.
Click the General Files button.
Click Add New General File.
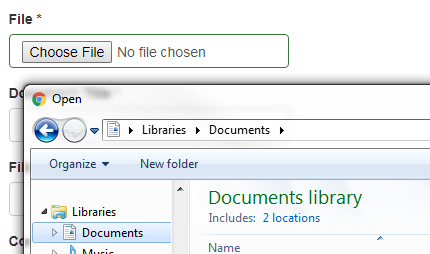
Click Choose File, and select a file to upload.
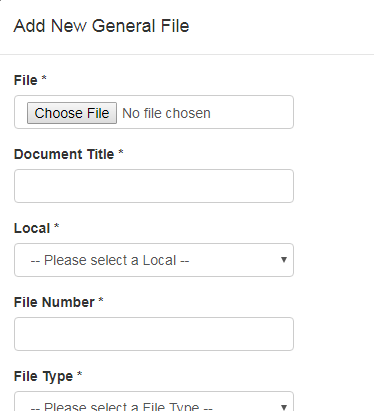
Enter the required information, and click Submit.
Which data columns are displayed, required, or optional will vary depending on the selections you make on the Configuration Options page. You can customize each module to fit the requirements of your organization.
Follow these steps to upload a correspondence document and add/edit data describing the correspondence:
A correspondence document can be uploaded from both the Member Profile page (for a member) and the Local Profile page (for non-member related correspondence). Browse to the page most applicable to the correspondence.
Search for the member or local, and select the data row.
Click the Correspondence button.

Click Add New Correspondence.
Click Choose File, and select a file to upload.
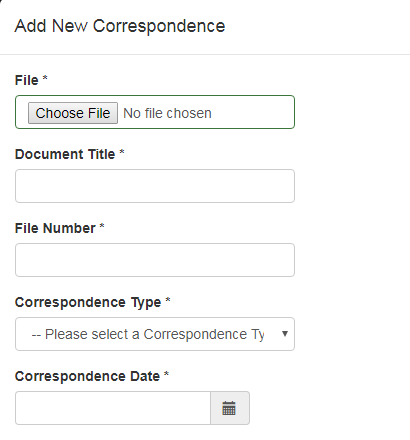
Enter the required information, and click Submit.
Which data columns are displayed, required, or optional will vary depending on the selections you make on the Configuration Options page. You can customize each module to fit the requirements of your organization.
Follow these steps to add a new phone call or edit an existing phone call:
A phone call can be entered on both the Member Profile page (for a member) and the Local Profile page (for a non-member related call). Browse to the page most applicable to the phone call.
Search for the member or local, and select the data row.

Click the Phone Calls button.
Click Add New Phone Call.
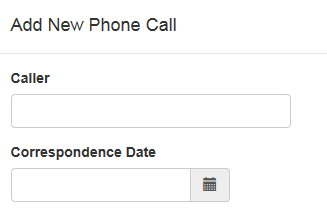
Enter the required information, and click Submit.
Which data columns are displayed, required, or optional will vary depending on the selections you make on the Configuration Options page. You can customize each module to fit the requirements of your organization.
Follow these steps to add a new funding request or edit an existing funding request:
A funding request can be entered only on the Member Profile page. Click Member Profile in the navigation.
Search for the member, and select the data row.

Click the Funding button.

Click Add New Funding.
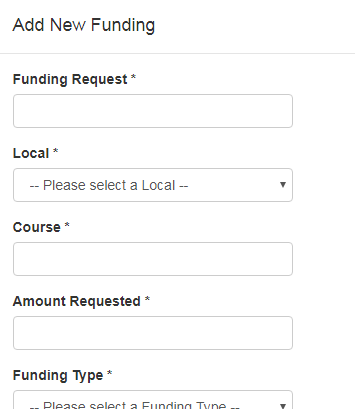
Enter the required information, and click Submit.
Which data columns are displayed, required, or optional will vary depending on the selections you make on the Configuration Options page. You can customize each module to fit the requirements of your organization.
Follow these steps to add a new education session or edit an existing education session:
An education session can only be entered on the Member Profile page. Click Member Profile in the navigation.
Search for the member, and select the data row.

Click the Education button.

Click Add New Education Session.

Enter the required information, and click Submit.
Which data columns are displayed, required, or optional will vary depending on the selections you make on the Configuration Options page. You can customize each module to fit the requirements of your organization.
Member names cannot be modified without approval. Follow these steps to submit a name change request.
In the navigation menu, click Member Profile.
Search for the member, and select the data row.
Go to the Actions column, and click the edit button (pencil icon).
Click Submit Name Change Request.
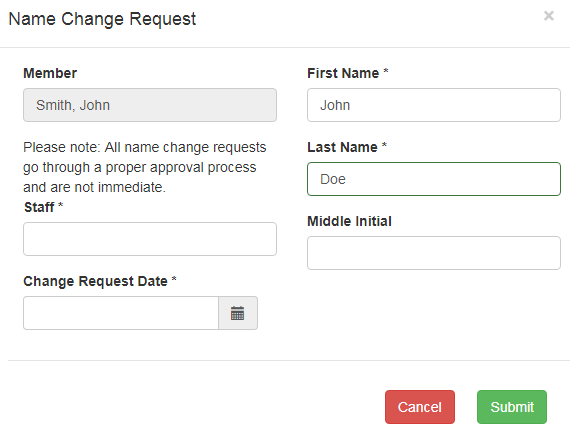
Enter the required information, and click Submit.
Once the name change has been approved, the new member name will be updated in all lists and libraries in the SharePoint site.
When a name change request is approved, the new member name must be synchronized across all data and documents in SharePoint related to the member. Follow these steps to approve a name change request.
NOTE: the approver must have at least Edit permissions on all member-related SharePoint lists and libraries. Also, the approver must be added to the Member App Administrators list to be able to view pending name change approvals.

In the heading of the Member Profile page, click the link to go to the Name Change Approval Page.
A message will be displayed if no new requests are found.
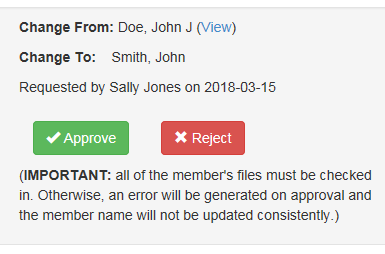
If new requests exist, each one will be displayed in it's own row. Click Approve to update the member's name in all related SharePoint data. Click Reject to deny the request.
IMPORTANT: all member files and documents must be checked in to SharePoint. Otherwise, an error will be generated on approval and the member name will not be updated consistently. If an error does occur, check in all files and approve the name change.

Messages will be displayed when the approval or rejection process has completed.
Member Management - Reports
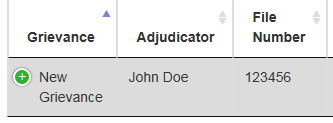
When using the Member Profile and Local Profile pages, each row of data in every module has an Actions column. Click the list icon to browse Views/Reports related to that module.
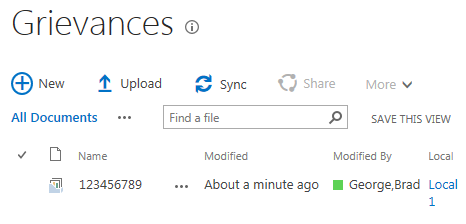
For example, clicking the list icon in the Actions column for any Grievance will open the Default View ("All Documents") of the Grievances list. SharePoint views (reports) are displayed underneath the "new item" button (for lists) or underneath the toolbar (for document libraries). Only the first few are shown. All other public views are found by clicking the ellipsis (...) button.
The Member Management app configures the default view for every SharePoint list and library with a pre-defined set of data columns. You can customize the default views and create new views to meet your own requirements.
Absolutely. SharePoint Views are used as the reporting engine. Simply choose Modify this View from the ellipsis (...) menu on any view (report), and you can choose which data columns are displayed, sort order, filters, grouping, and more. Read the next help topic for more information on creating views.
No step-by-step instructions for this topic.
This is a big topic, so we've included some links to the Microsoft online help. Here are the basic steps you need to know:
Here are some links to the Microsoft online help which have a lot more detail than we've included in this help topic.
On the SharePoint site where the app is installed, open the gear menu, and select Site Contents.
Click on the list or library that contains the applicable data. For this example, we'll be using the Member Locals list. This list contains member associations with local groups along with additional member information.
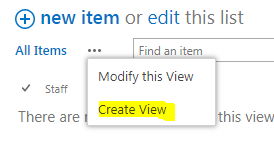
Open the ellipsis menu (...) and select Create View. This is the same menu where you go to modify an existing view.
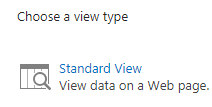
To create a normal list of data, click Standard View. There are many types of views which you can create, or you can start from an existing view (as a template).
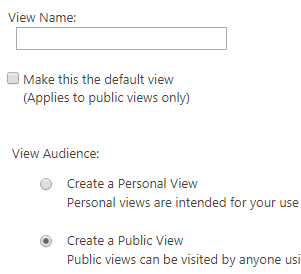
Enter a short, but descriptive, View Name. There are also options for public and private views.
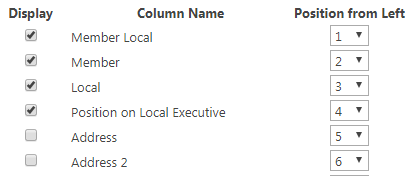
Check the boxes next to all Columns you wish to display on the page, including the column order (from left to right).
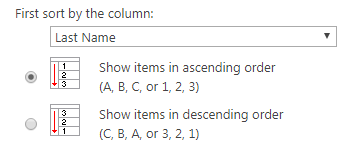
Apply a Sort Order, if needed. You can have up to two (2) sorted columns (more if you add grouping, which adds a sort level for each group).
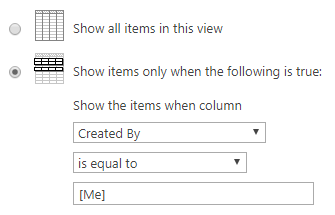
Add one or more Filters. There are special tokens to filter by the current user ("[Me]") or by the today's date ("[Today]").
Note: if there's a lot of data in your list or library, select an indexed column as the first filter. Also, you may not be able to use "Or" logic on large lists. Microsoft has recently updated the definition of a large list to be over 20,000 items.
There are many other options. See the Microsoft online help links above for more information.
Click OK to save the new view.
Member Management - Administration
Most users will only use the Member Profile and the Local Profile pages. Administrators have an Administrator Dashboard and pages for Deployment Options, Configuration Options, Contact Information, Upgrade Options, and Online Help.
The Administrator Dashboard gives you a quick status update on the following:
The Deployment Options page is where you deploy Site Columns, Content Types, Lists and Libraries to your site. There are many lists and libraries required to be installed on your site to hold member data and documents. All data remains on your SharePoint site, so that you have complete control over your data.
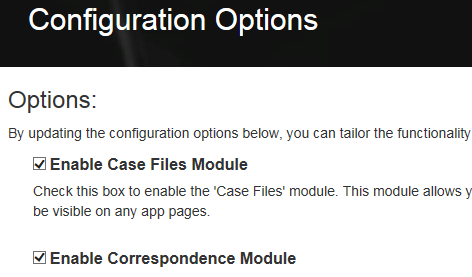
The Configuration Options page is where you can enable or disable various modules that come with the Member Management app. Disabling any module will hide related elements on both the Member Profile page and the Local Profile page.
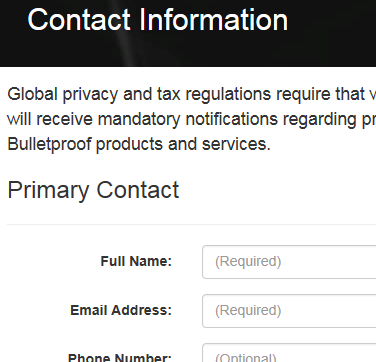
The Contact Information page is where you enter primary contact information and communication preferences. This person will receive notifications regarding product updates and maintenance.
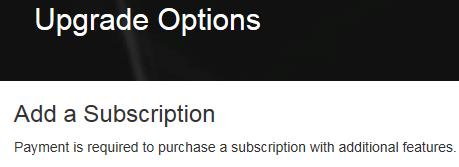
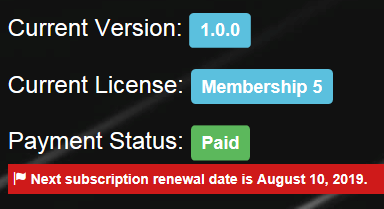
The Upgrade Options page is where you can purchase a paid subscription and manage upgrades. This page also provides status indicators and messaging regarding Current Version, Current License, and Payment Status.

The Online Help page provides all online help topics and also includes a form to submit a request to Bulletproof Support.
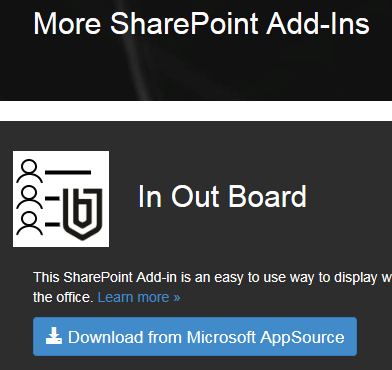
The More SharePoint Add-Ins page lists additional apps you may be interested in. Bulletproof also offers Security as a Service, Managed Services, Professional Services, Educational Services, and more.
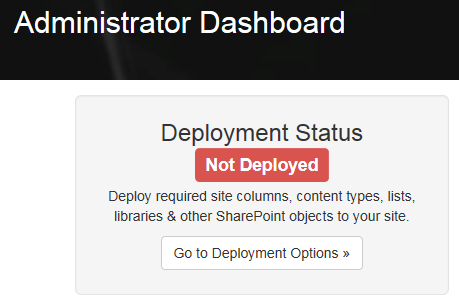
The Administrator Dashboard is the home page for app administrators and will display a variety of status messages. See below for a sample of the status messages you may see on the dashboard.
When the Member Management app is first added to any site, the Deployment Status will show as Not Deployed.
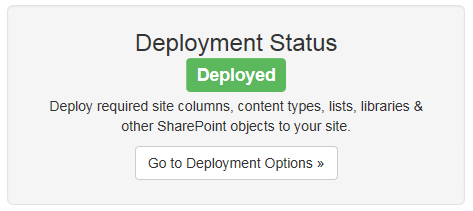
After you have completed deployment of Site Columns, Content Types, Lists and Libraries, the Deployment Status will change to Deployed.
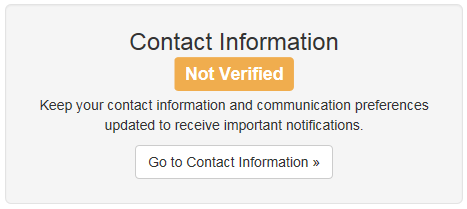
Contact Information will show as Not Verified until you confirm a primary contact and choose communication preferences.
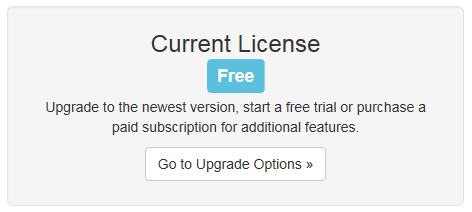
You will start with a Free license as the Current License.
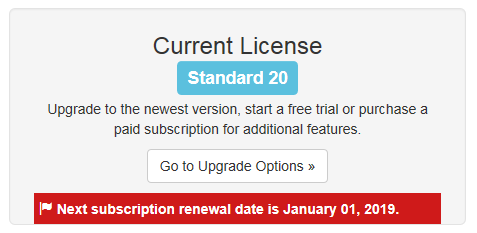
When you purchase a subscription, the Current License will show the license level. You will also see messaging about when your subscription will expire.
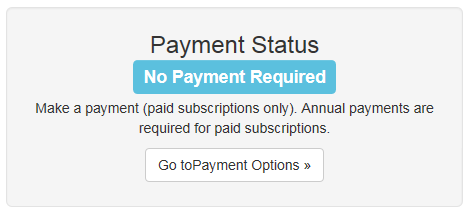
When using the Free version, Payment Status will show as No Payment Required.
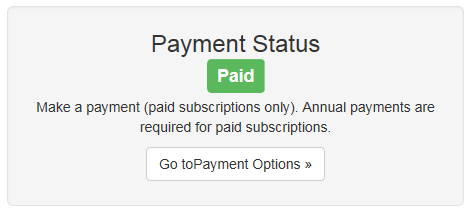
Once payment is completed and you have an active subscription, Payment Status will show as Paid.
Yes. The app was originally developed for a membership-based organization in the health care industry with local union chapters. However, the app is customizable using the Configuration Options page. You can disable entire modules and customize data columns. Follow these steps to customize the app to fit your organization:
In the app navigation menu, click Configure.
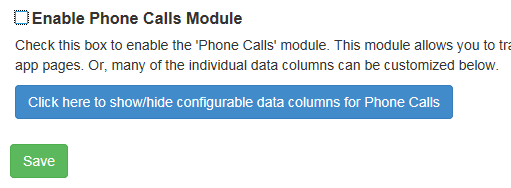
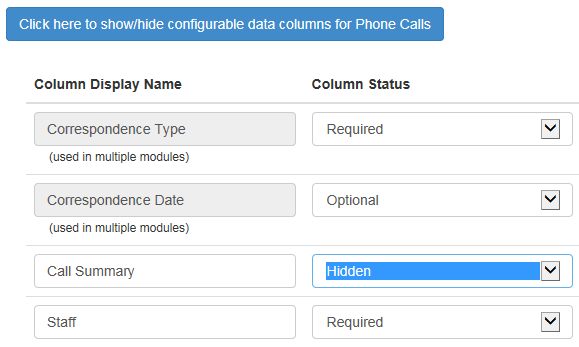
To customize individual data columns, click the button Click here to show/hide configurable data columns for..., make your changes, and click Save.
Generally, you should always use the app pages for Member Profile and Local Profile to enter or edit data, because data is synchronized across multiple lists at the same time. There are a few exceptions; here is a summary.
When you add or edit data using the Member Profile and Local Profile pages, data is synchronized across all SharePoint lists and libraries. At a minimum, the Member Name, Member ID, and Local chapter are synchronized. Some address information and other administrative data is also synchronized.
If you simply need to make a quick edit (for example, to a date, choice, or status field), you can safely edit the data directly in SharePoint. This is because the Member and Local information has already been saved.
WARNING: if you manually add new data directly in a SharePoint list or library, be aware that the data will NOT automatically be associated with a member or local.
You must use the SharePoint interface when uploading or editing documents for Document Set libraries. The Case Files and Grievances modules both use Document Set libraries. Detailed instructions can be found in the Member Management - User Guide category in the online help.
The following lists must be edited directly in SharePoint and can be accessed from the Site Contents page. There are a variety of topics in the online help that cover this information in more detail.
Most of the drop down lists are "choice" columns in SharePoint, and you can update the choices using the Site Columns menu on the Site Settings page. For details, expand the help category Getting Started and click on the help topic Update drop down list choices to fit your organization.
No step-by-step instructions for this topic.
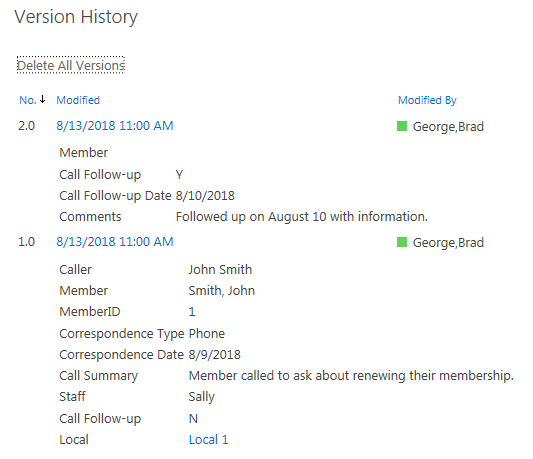
Yes, with a few limitations. By default, Version History is enabled on all SharePoint lists and libraries when the app is deployed. Version history will be automatically captured for all content except Document Sets. Here are the details:
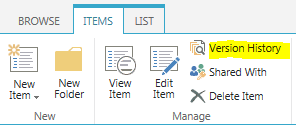
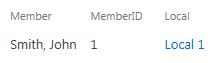
To see version history for any item, browse to the SharePoint list or library, select the item, and click Version History in the ribbon.
NOTE: this screenshot is from the ribbon using the Classic Experience. If you are using the New Experience, the menus and toolbars will have a different look and feel.
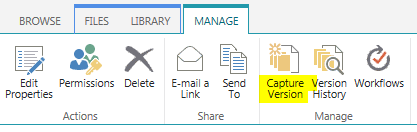
Document Set libraries DO NOT automatically create versions (even when version history is enabled in the library settings). Because Case Files and Grievances use document set libraries, you will need to manually capture version history by clicking Capture Version in the ribbon.
This is how SharePoint document set libraries work. Unfortunately, the SharePoint Add-in framework does not allow us to program the app to capture version history for you.
The Member Management app uses the DataTables JavaScript library which is licensed under the MIT license model. The copyright notice and permission notice are accessible from every copy of the app and from the online help, as required by the MIT license. Expand this help topic to view the license information.
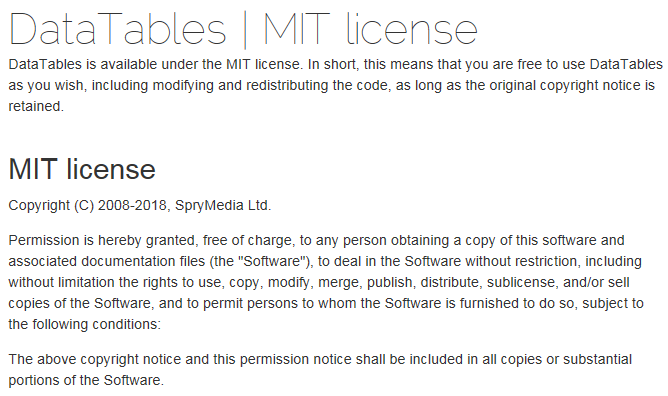
DataTables MIT license copyright notice and permission notice.
Manage User Licenses
In the top navigation menu for your app, click Configure.

Scroll down to the User Management section.

If your Total Licenses shows Unlimited, then your app can be used by an unlimited number of users. No user management is required. Please note that depending on the app, there may be restrictions on the number of users allowed per site.
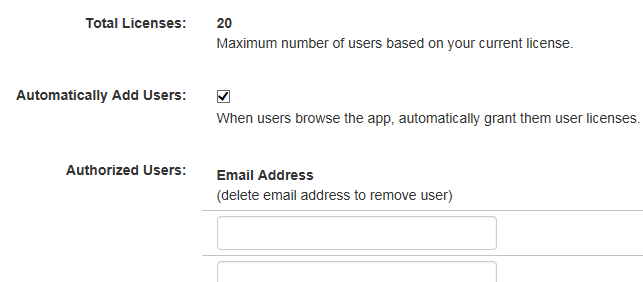
Otherwise, Total Licenses will show the maximum number of user licenses available, and additional options will be visible.
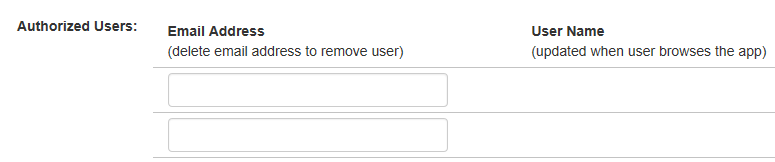
To manually add a new Authorized User, enter their email address in one of the textboxes and click Save.
Purchase a Subscription
To start the payment process, go to the Upgrade Options page and click Pay Now for the desired subscription level. You'll be taken to the Bulletproof Apps for SharePoint website to Verify Your Address and confirm your purchase. Then, you'll be redirected to PayPal to complete the purchase. Follow these steps to purchase a subscription.

In the app navigation, click Upgrade.
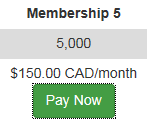
Click Pay Now to start the payment process.
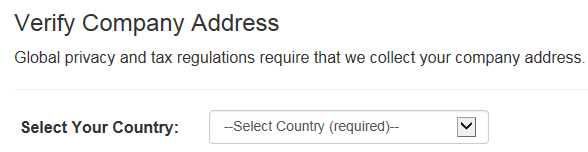
A new browser tab will open, and you will be redirected to the secure Bulletproof Apps for SharePoint website to verify your address. Enter your company address, then click Verify and Save.

Click Buy Now to confirm, and you will be redirected to a secure PayPal site to complete the purchase. A variety of payment methods are available.
After you complete your purchase, PayPal will notify us of the payment. The Payment Status on the Administrator Dashboard and Upgrade Options pages should be immediately updated to Paid. If your payment status is not updated within 24 hours, please contact Bulletproof Support for assistance.


When you exceed the maximum number of members allowed, a message will be displayed and the Add New Member button will be disabled. You will be able to view/edit member information and upload documents. However, you will not be able to add new members until you upgrade your subscription.
Get Help
Before contacting Bulletproof Support, please browse the online help topics on this site. We try to provide all of the information you need to install, configure, administer, and use the app.
No step-by-step instructions for this topic.
The app administrator can submit a request by filling out the form on the Online Help page. Follow these steps:

Go to your SharePoint site where the app is installed and click on the app. Then click Get Help in the navigation menu.
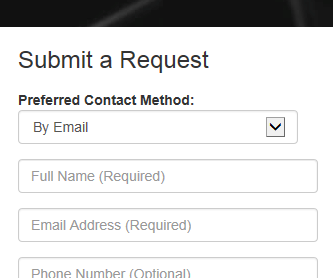
Under the heading Submit a Request, fill out the form and click Save. A member of the Bulletproof support team will contact you.
Yes, Bulletproof has a team of SharePoint Support staff and offers support contracts as a Managed Service. Bulletproof also has a team of SharePoint Consultants in the Professional Services division who can assist you with planning, architecture, custom development, and general consulting. Go to https://www.bulletproofsi.com for more information.
No step-by-step instructions for this topic.
Yes, please visit the Bulletproof Apps website at https://bulletproofapps.azurewebsites.net for detailed descriptions.
No step-by-step instructions for this topic.